Difference between revisions of "LibVNC"
| Line 3: | Line 3: | ||
==Setup== | ==Setup== | ||
===Using TightVNC on Windows=== | ===Using TightVNC on Windows=== | ||
1. Install TightVNC. | 1. Install TightVNC. https://www.tightvnc.com/download.html | ||
2. Setup a view only user with a password. Disable the primary user and | 2. Setup a view only user with a password. Disable the primary user and | ||
also disable the java client. There is also the Access Control page where | also disable the java client. There is also the Access Control page where | ||
Revision as of 01:36, 28 January 2023
Zoneminder can not only record cameras, but can also do screen recording of Windows/Linux/Mac or any computer that uses VNC. LibVNC in 1.36 is a way to record VNC sessions. Any VNC server should be able to be used, but this guide has tested only TightVNC.
Setup
Using TightVNC on Windows
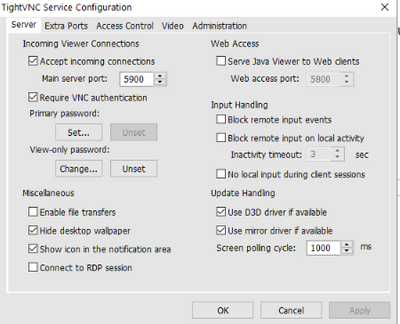
1. Install TightVNC. https://www.tightvnc.com/download.html 2. Setup a view only user with a password. Disable the primary user and also disable the java client. There is also the Access Control page where you can optionally put firewall rules in to only allow access to the ZM server.
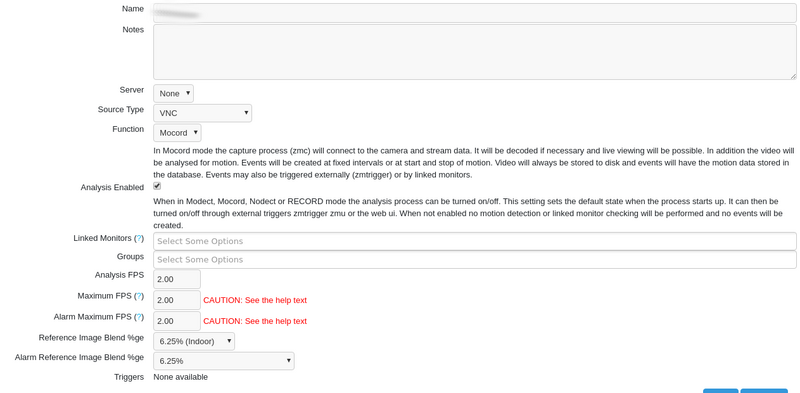
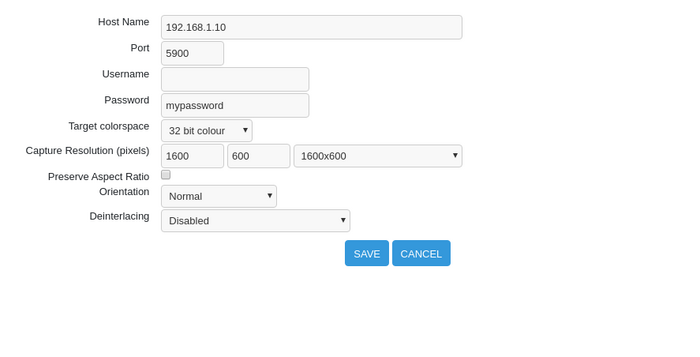
My settings in Zoneminder look something like this. Note that I've specified to record only 2 FPS. For LibVNC, you should specify a max FPS. 2 is enough for my use case. Also note that there is no username, and instead just a password is used. The resolution may be any value that you want to record at. I have not tested how it affects performance, but have had success with both 1600x600 and also at say 320x240.
Settings
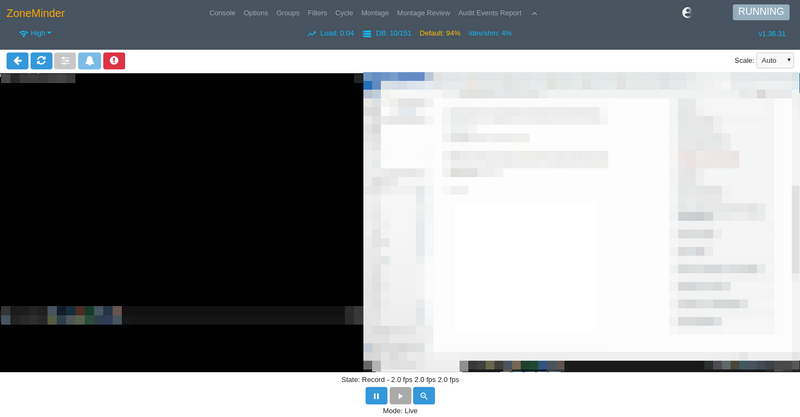
If everything goes right, you should have the computer screen recording in Zoneminder.
See Also
- https://thetechnologyteacher.wordpress.com/vncthumbnailviewer/ Another project which screen records computers using VNC.


