Intellinet
This information relates to the Intellinet
Network IP Camera
Professional Series
Medel [sic, per cover of User's Guide] or Model 550710.
The external appearance of this camera is shown below.
[ 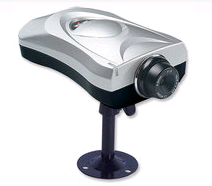
from [1] ]
Note that the plastic case of this camera gets warm (e.g. 22 degree F elevation above ambient) after it has been powered on for a while.
Aim your web browser at the address you selected for your camera,
and supply the login credentials for an Administrator of your camera.
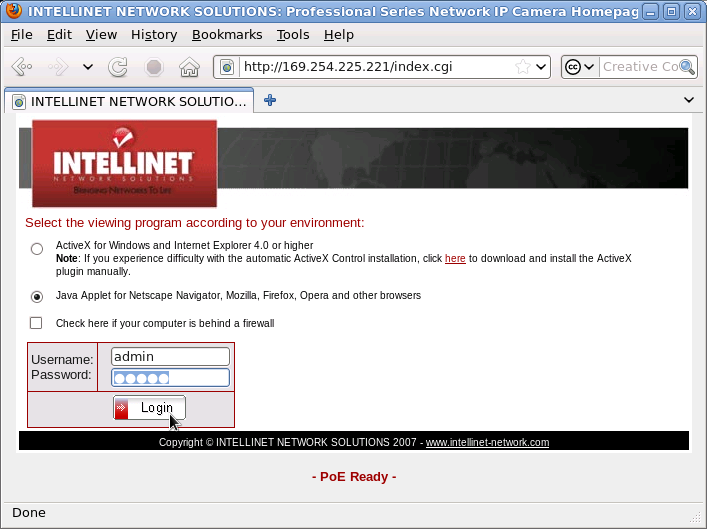
The manufacturer's default administrator Username is "admin" with a Password of "admin" (per page 31 of User's Guide).
On the resulting web page,
scroll down to the bottom to select the hyperlink to the Administrator Menu.
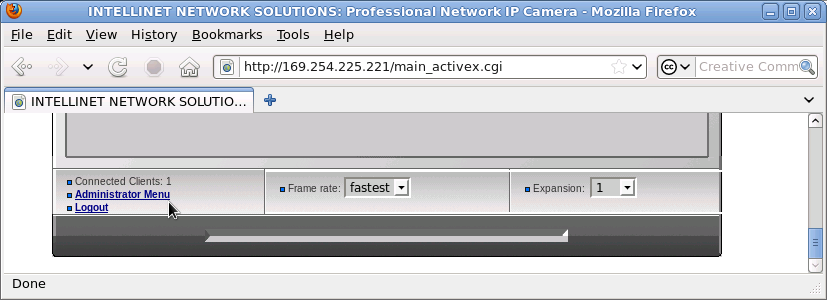
[ Note that in the large grey central section of this browser window, if one were using a browser that supported ActiveX one would see the real-time live video feed from the camera. However, even when one selects the viewing program option shown on the previous screen for "Java Applet for Netscape Navigator, Mozilla, Firefox, Opera and other browsers", the video feed is not displayed on this page by at least Firefox 3.6.3, whether under Windows (e.g. XP) or Linux (Fedora). ]
On the resulting web page,
select the hyperlink to Image Configuration.
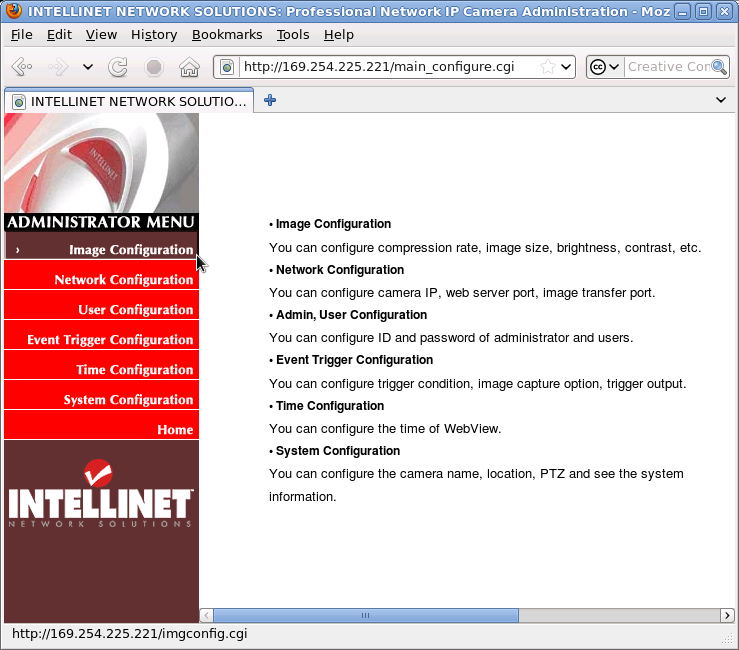
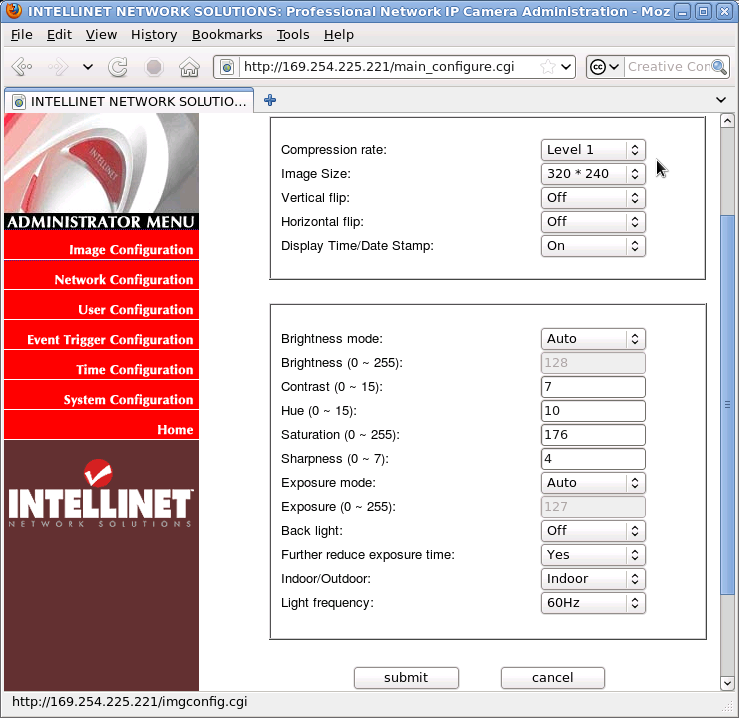
On the resulting web page, select
- Compression Rate to be Level 1
[Under both firmware levels of FL000004.0 (as this unit was shipped) and after firmware upgrade to FL000004.29 (the only version available at the manufacturer's website as of 2010-06-), leaving the Compression Rate at the default of Level 10 led to ZoneMinder not displaying the images.]
- Image Size to be 320 x 240,
then select the Submit command button.
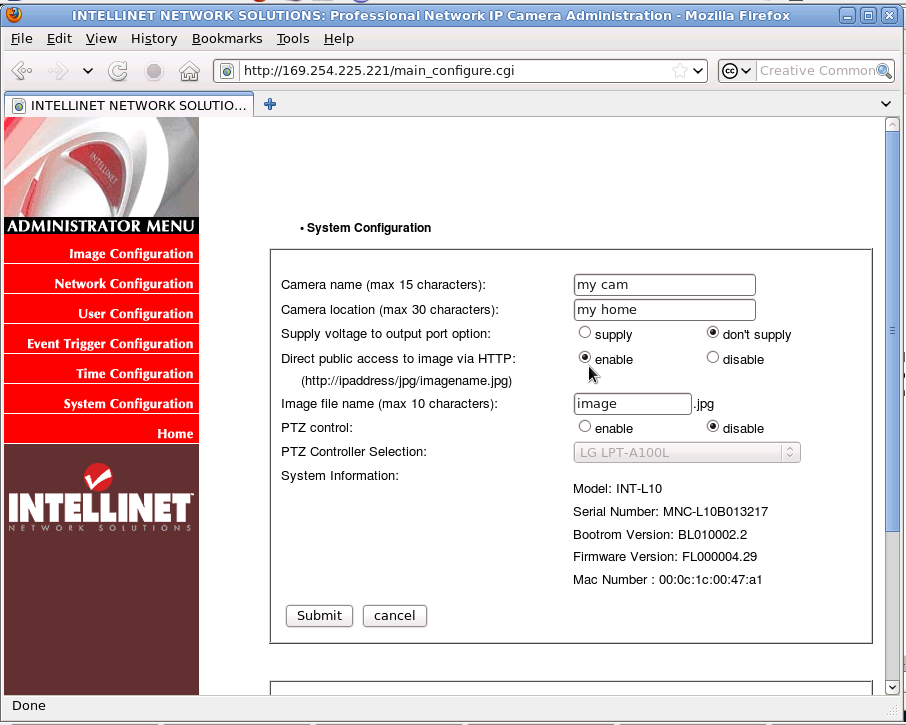
On this web page,
select the hyperlink to System Configuration,
and select the option to enable
"Direct public access to image by HTTP",
then select the Submit command button.
Aim your web browser to the appropriate URL resembling: [2]
(supplying the IP address of your camera, and
possibly a different name for the image if you so chose)
to verify that you can see a still image in your web browser.
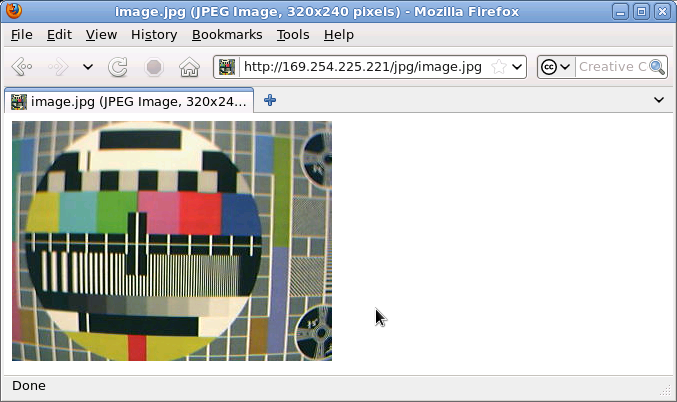
This is the view from the Intellinet camera as configured above of a portion of an 8.5 inch by 11 inch piece of paper containing a printed copy of [3] (see [4] ) with the camera lens at a distance of roughly 8.5 inches from the paper print, illuminated by indoor fluorescent lamps.
Note that this camera also supports an image resolution of 640 by 480 pixels,
and its image of this same sheet of paper
from approximately the same distance
with the same lens focus setting
under the same lighting conditions
does show more detail.
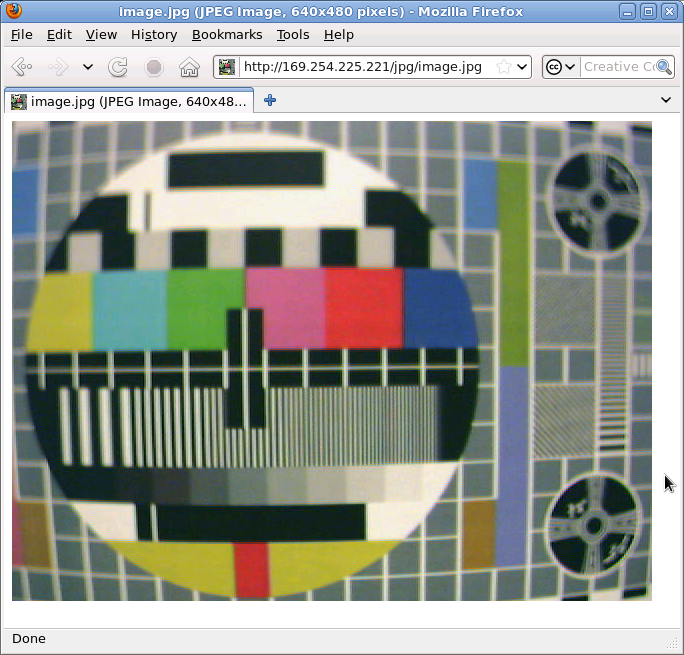
But as of yet it is unknown how to capture an image stream of this resolution from this camera with ZoneMinder. [ See Problems below.]
After you have installed all of the necessary software for ZoneMinder, unless you have already configured all of the daemons to be started each time the system is booted, you will probably need to issue commands similar to:
[root@who ~]# service mysqld start
Starting mysqld:                                           [  OK  ]
[root@who ~]# service httpd start
Starting httpd:                                            [  OK  ]
[root@209 ~]# setenforce 0 ## temporarily turn off SELinux enforcing mode
[root@who ~]# service zoneminder start
Starting zoneminder:                                       [  OK  ]
[root@who ~]#
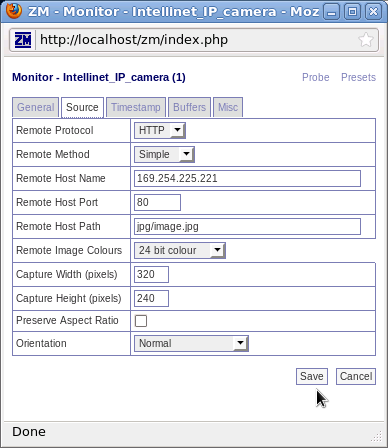
Now you should be able to load the ZoneMinder web page, [5] where you can select the Add New Monitor command button.
On the General tab of the resulting page,
select Remote as the Source Type.
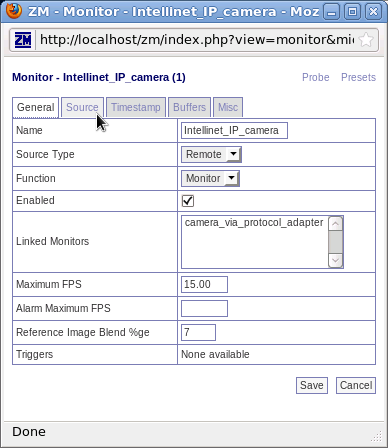
On the Source tab of this page, select
- the Remote Protocol to be HTTP,
- the Remote Host Name to be the IP address of your camera,
- the Remote Host Path to be jpg/image.jpg,
- the Remote Image Colours to be 24 bit colour,
- the Capture Width (pixels) to be 320, and
- the Capture Height (pixels) to be 240.
Select the Save command button.
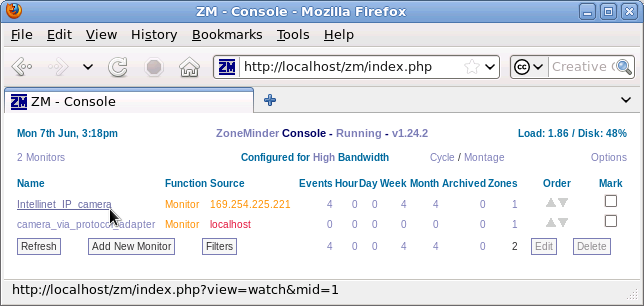
Now, as one returns to the ZoneMinder web page,
[6]
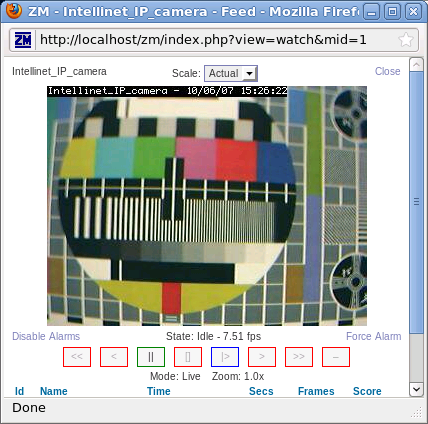
select the name of the camera you just defined.
This will open a window containing the live video feed from the camera.
Problems
Attempts to configure the Compression Rate (using the Intellinet camera Administrator menu, Image Configuration) to each of the possible values of Level 1 through Level 10 while the Image Size was set to 640 x 480 all led to the same failure in ZoneMinder (with the Capture Width set to be 640, and the Capture Height set to be 480 on the Source tab of the Monitor page). Instead of viewing the video feed, a black square was displayed as the feed image, with a rate of 0 fps. In each case while ZoneMinder could not display the data, fetching [7] within a web browser yielded a new image of the expected resolution.
Are there other configuration options which should be explored within the camera settings, or within ZoneMinder? Is it debugging time?
